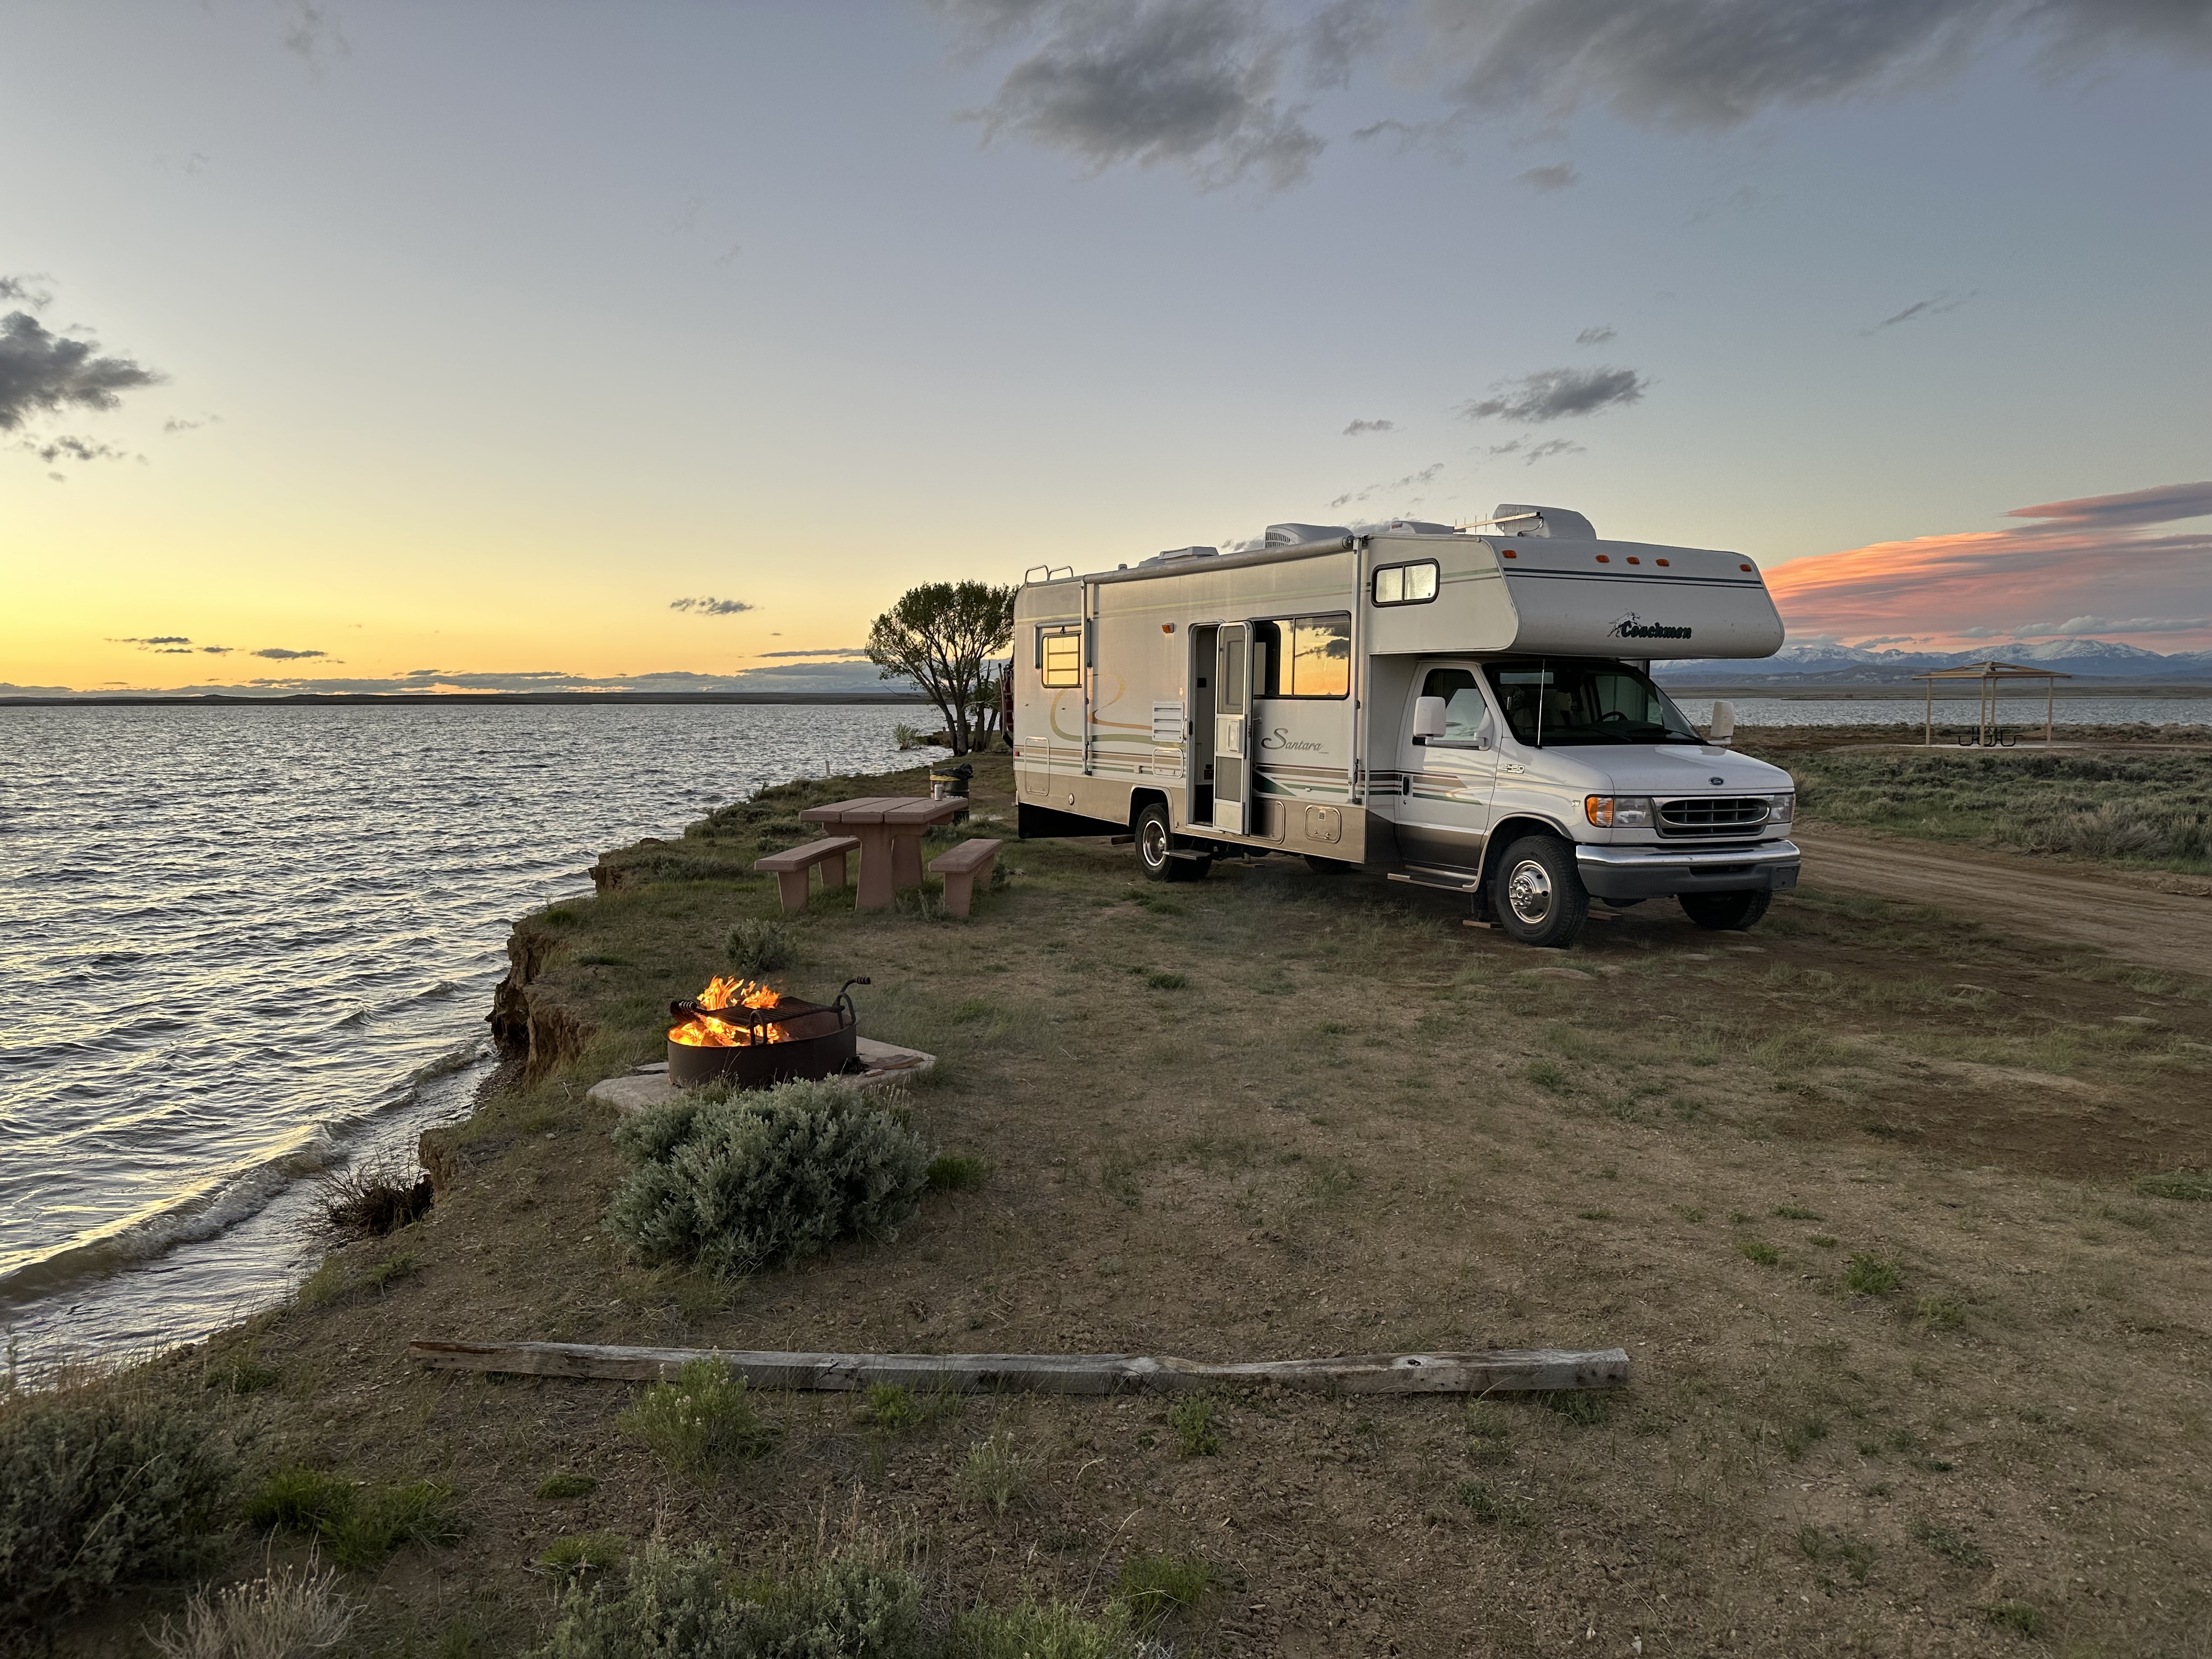
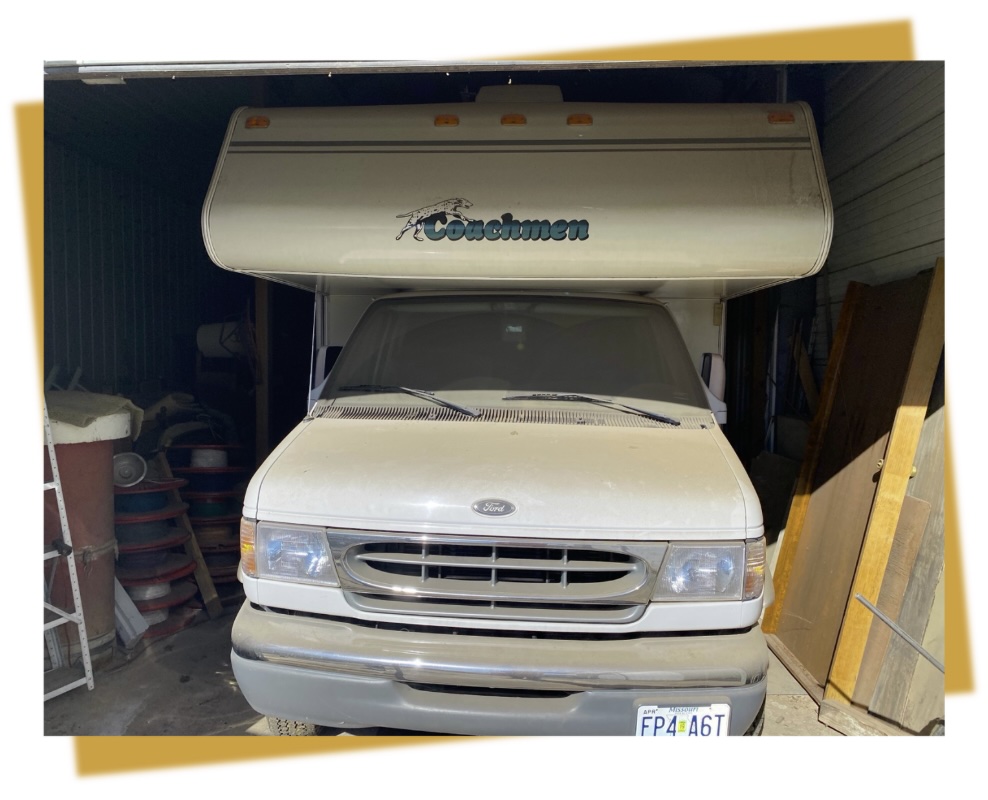
In January 2022 my journey began when I pulled my late grandfather's Class C RV out of storage in order to help sell it for my grandmother. It was a 2001 Coachmen Santara 29' Class C with approximately 36,000 miles on the Ford E-450 chassis odometer. The chassis and coach appeared to be in good condition. Although the interior was outdated — oak cabinets, brass fittings and dirty carpet — all of the appliances and onboard systems appeared to be working. After sharing with my grandmother that RV dealerships weren't interested, she made the comment that she'd like me to have it.
The Inspection
I pulled it out of storage and my first stop was 6 new tires and an oil change. From there — car wash, then testing the AC, furnace, fridge, generator and plumbing. I checked the slide-out and leveling system. Upon verifying that all of these systems were still functional, I began to feel comfortable that this older RV had real potential for a renovation.
The Renovation
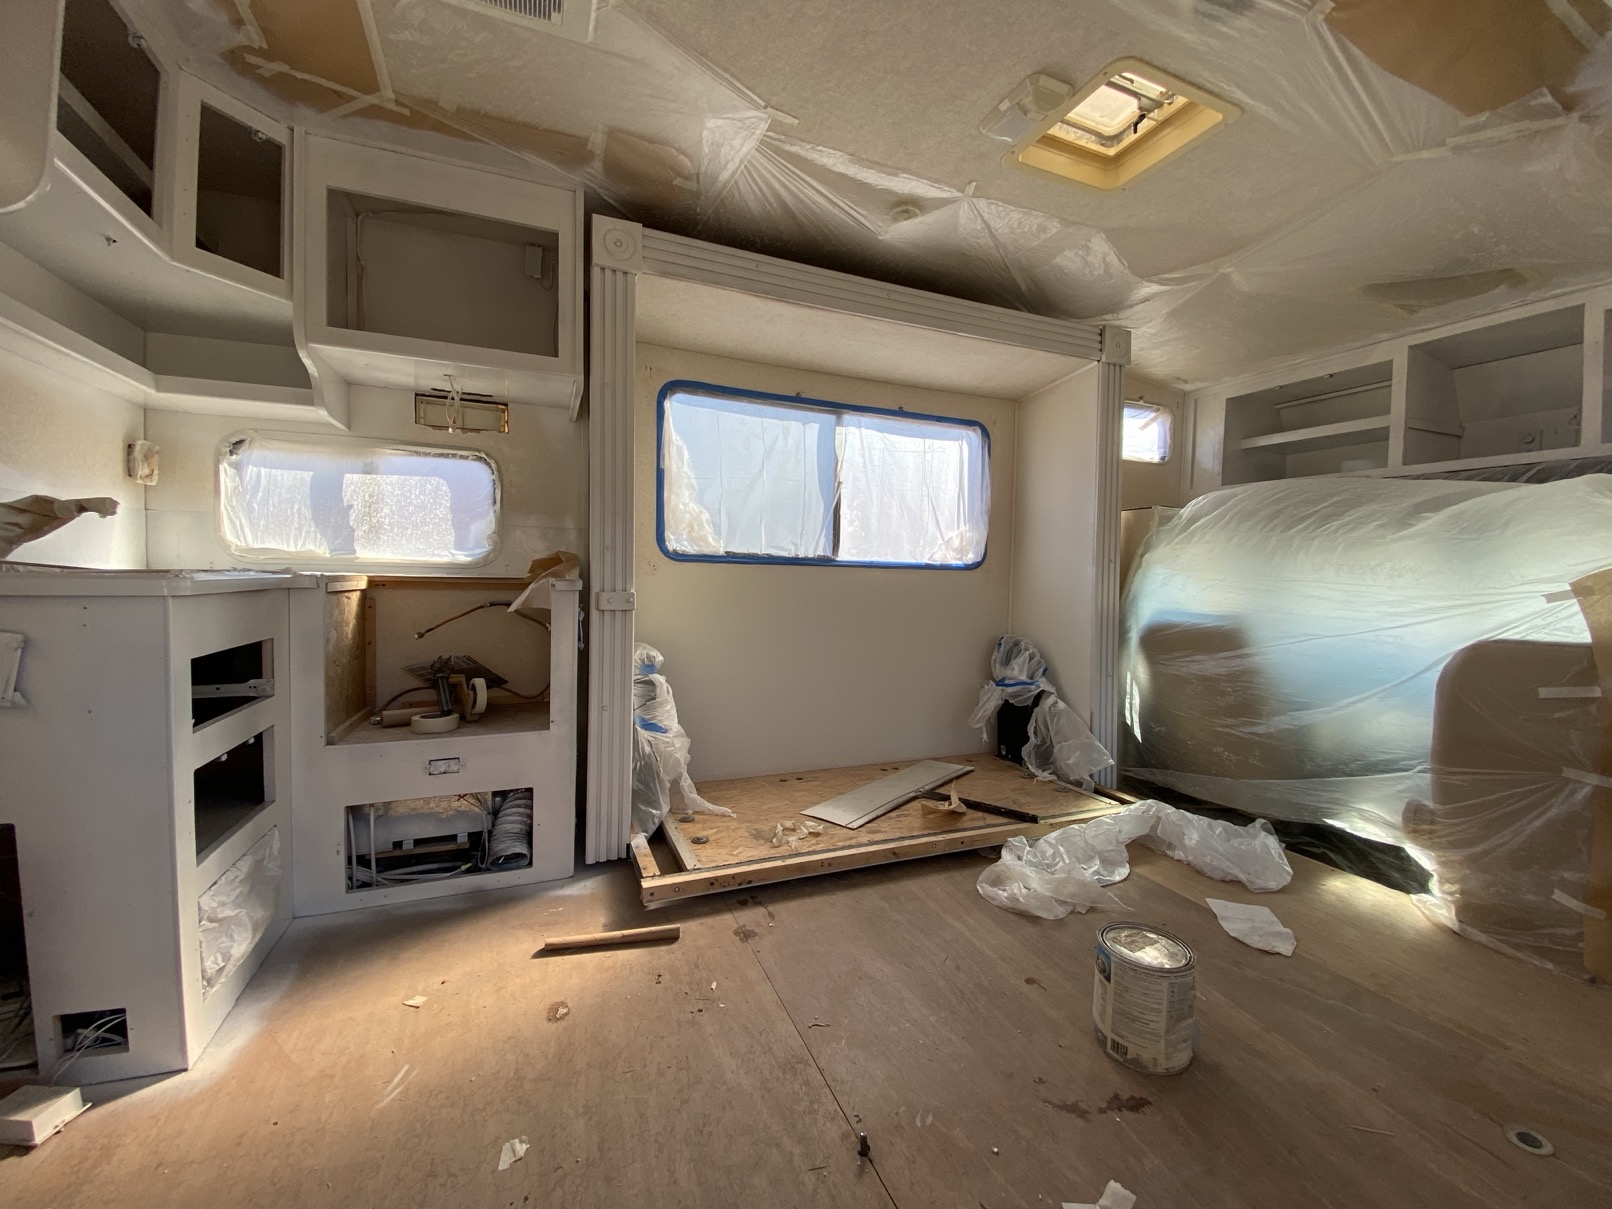
What followed was a 2-year weekend warrior project of completing a full interior renovation. I gutted everything — dinette, sofa, kitchen, bedroom, shower and bathroom. Only the cabinetry and refrigerator stayed. I used Photoshop to mock up the finished look before a single nail went in (AI would have been helpful here…).
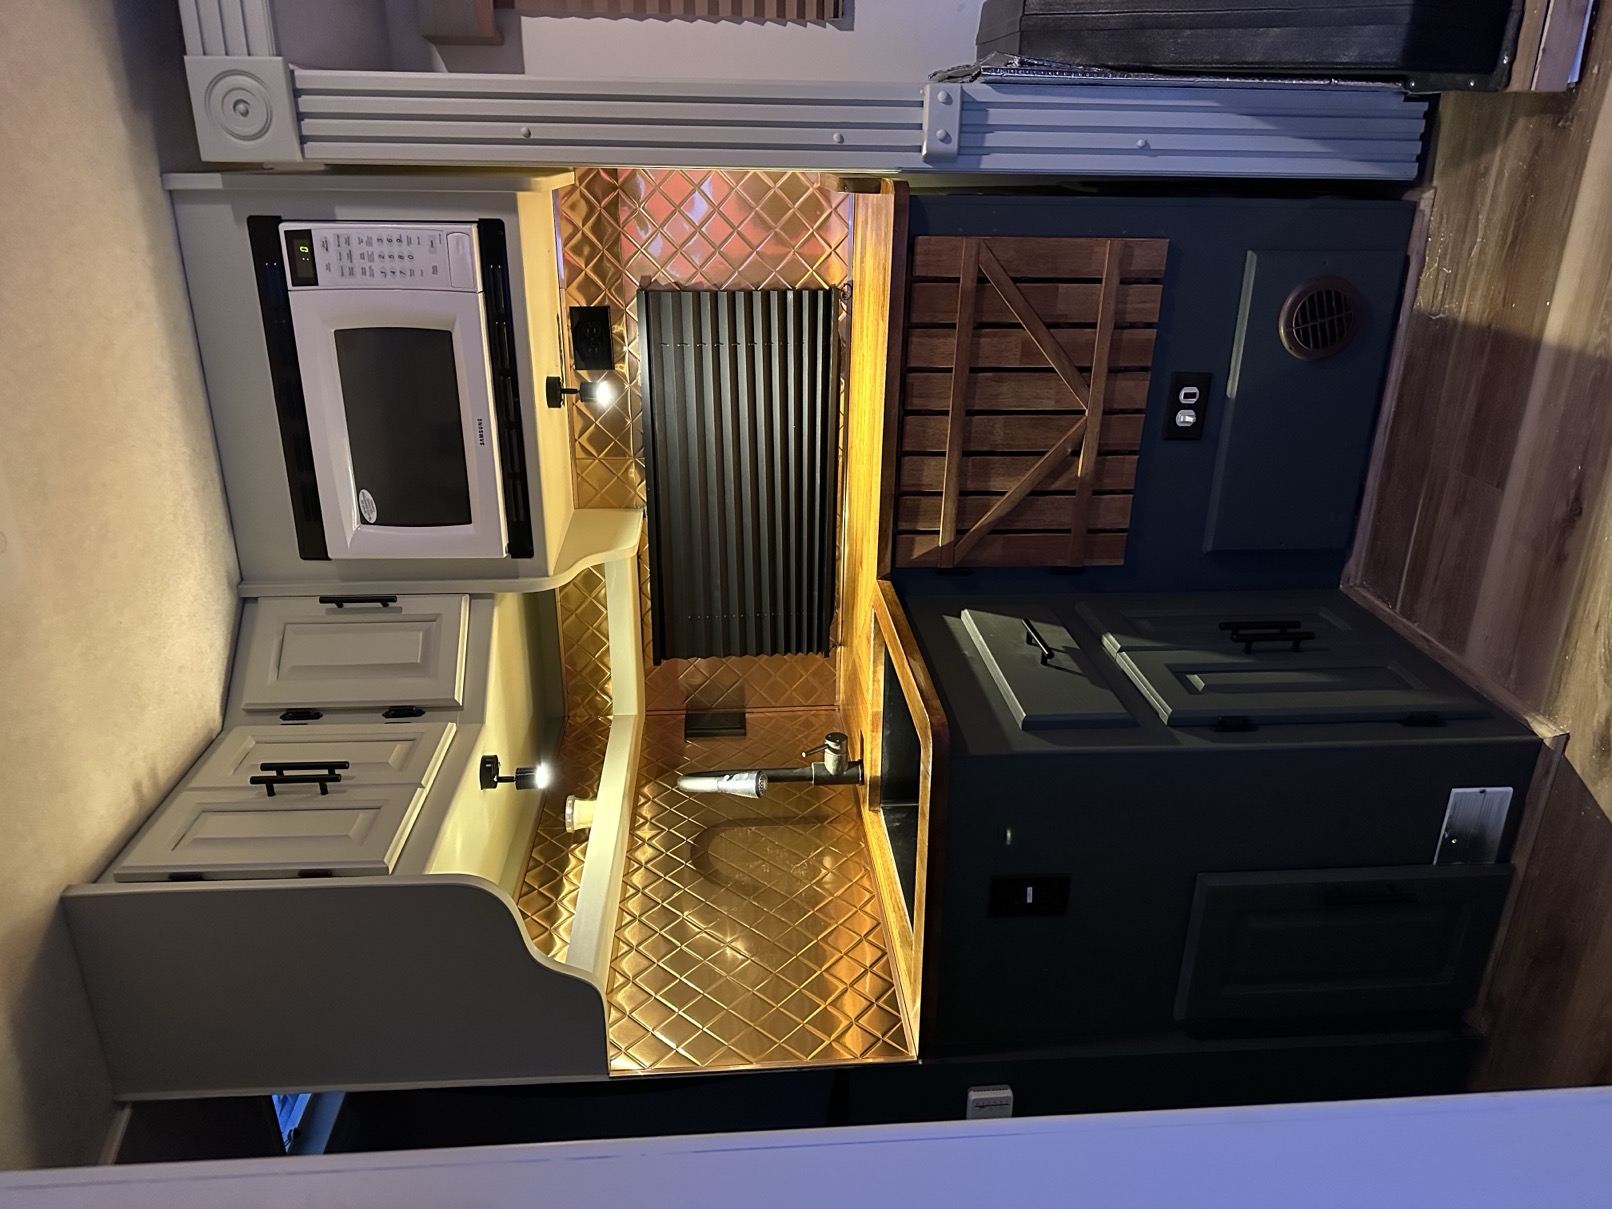
I wanted a natural tree-house feel, so I chose cedar wood for all new construction. I built a new kitchen counter out of butcher block, installed a Murphy bed with lift storage, custom-built a cedar tongue-and-groove shower, and fitted a residential bowl sink with residential faucets. I replaced all brass fixture lighting with LED, sealed every wood surface with food-grade tung oil, and finished the interior with a Pioneer CarPlay stereo and a new wireless backup camera.
After completing the interior I turned my attention to the roof — removed all old sealant, installed a new roof AC unit, upgraded to a digital thermostat, and then applied a Dicor acrylic coating over the EPDM rubber roof. Solid, durable, and rated for another 10–15 years. I can't recommend it enough.
The Outcome
This journey into RVing — and the deep dive into every system on that coach — sparked an interest that changed my life. It's the primary reason I'm now a NRVIA Certified RV Inspector and an RVTAA Registered RV Technician.
I hope my story inspires others to take on projects that push them to learn — and to Enjoy RV Life!
Brad Tomlin
NRVIA Certified Inspector · RVTAA Registered Technician

Behind the scenes
The Renovation
69 photos documenting the two-year build — demo, framing, cedar work, plumbing, electrical, and the finished rig.
On the road
The Road Trip
71 photos from the maiden voyage in the newly renovated rig — hitting the open road and loving every mile.